submitted via email by Prodigies Member Raquel Caradine March 2024
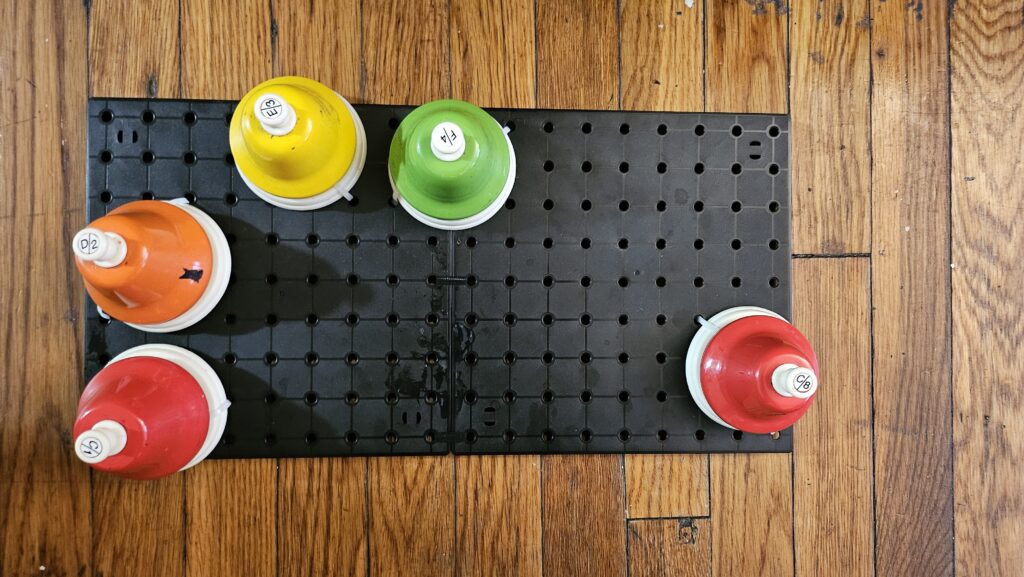
I made bell boards for my sons (4.5 years and 1 year old) using items from Dollar Tree. It was pretty easy. I didn’t take pictures of the process, but I do have pictures of the results. We are on a budget, so our little guy will have to wait for a full set.
Materials
4 Peg boards for 20 bells / 2 Peg boards for 8 bells
https://www.dollartree.com/jot-large-square-peg-board-875×875-in/344145
(note: be careful when opening the peg boards. I opened one that was stapled poorly and the staple cut my finger.)
2 packs Zip Ties (They have packs with different quantities, but I selected the pack with the most ties)
https://www.dollartree.com/tool-bench-8in-nylon-cable-ties-65ct-packs/271377
2 packs of Super Glue (these applicators worked best for me, but any super glue would probably work)
https://www.dollartree.com/the-original-super-glue-4ct-packs/198664
Elastic Hair Ties (or use zip ties)
https://www.dollartree.com/salon-quality-elastic-hair-ties-20-ct/355752
The total cost is $12 with a 6% sales tax.
Steps
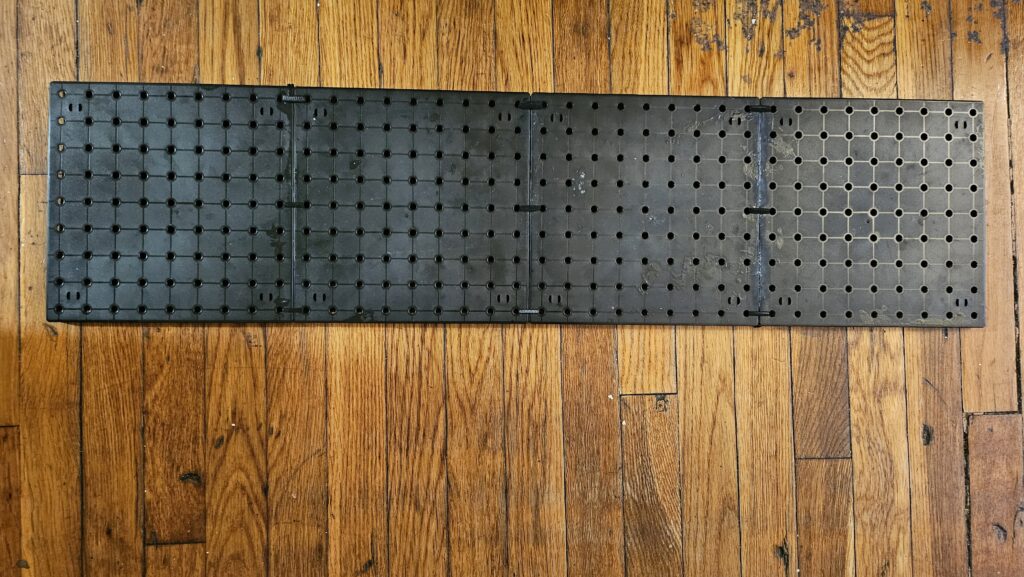
1. Line up the notches on 2 boards and then glue them together on the edge. Hold the two boards together for at least a minute and then let them sit to finish drying. (Make sure to line up all of the boards in the same direction. It will look neater).
2. If you are making a 20-Bell board, then repeat the same process with the other 2 boards.
3. Glue the 2 sets of boards together in the same fashion. You will have 4 boards glued together.
(I got glue on my fingers and I smeared glue on the boards because I didn’t let it dry long enough. Also, be careful not to glue the boards to your wood floor like I did. 😊)
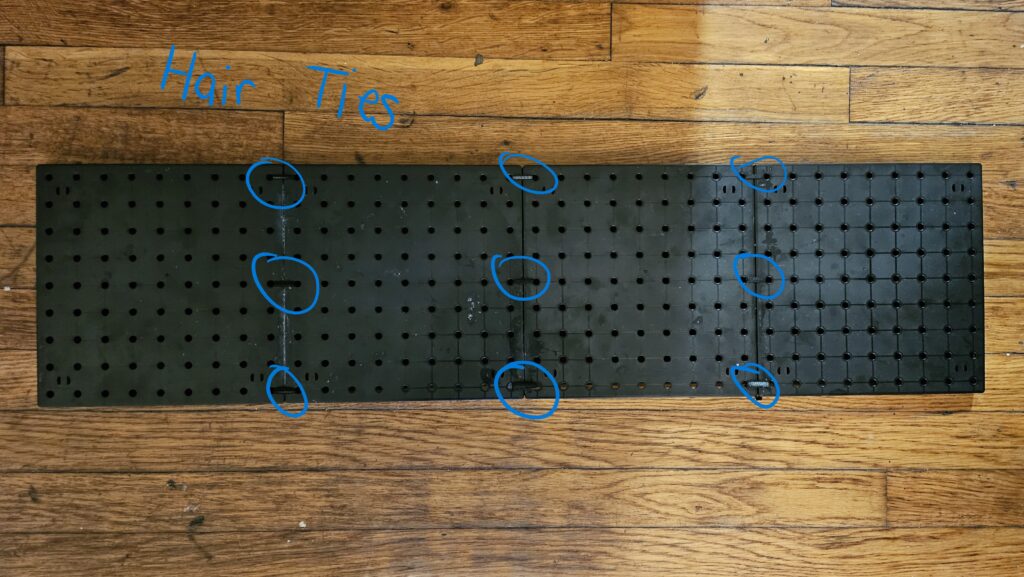
(Prodigies note: you could also use small black zipties to clamp the edges together instead of hair ties)
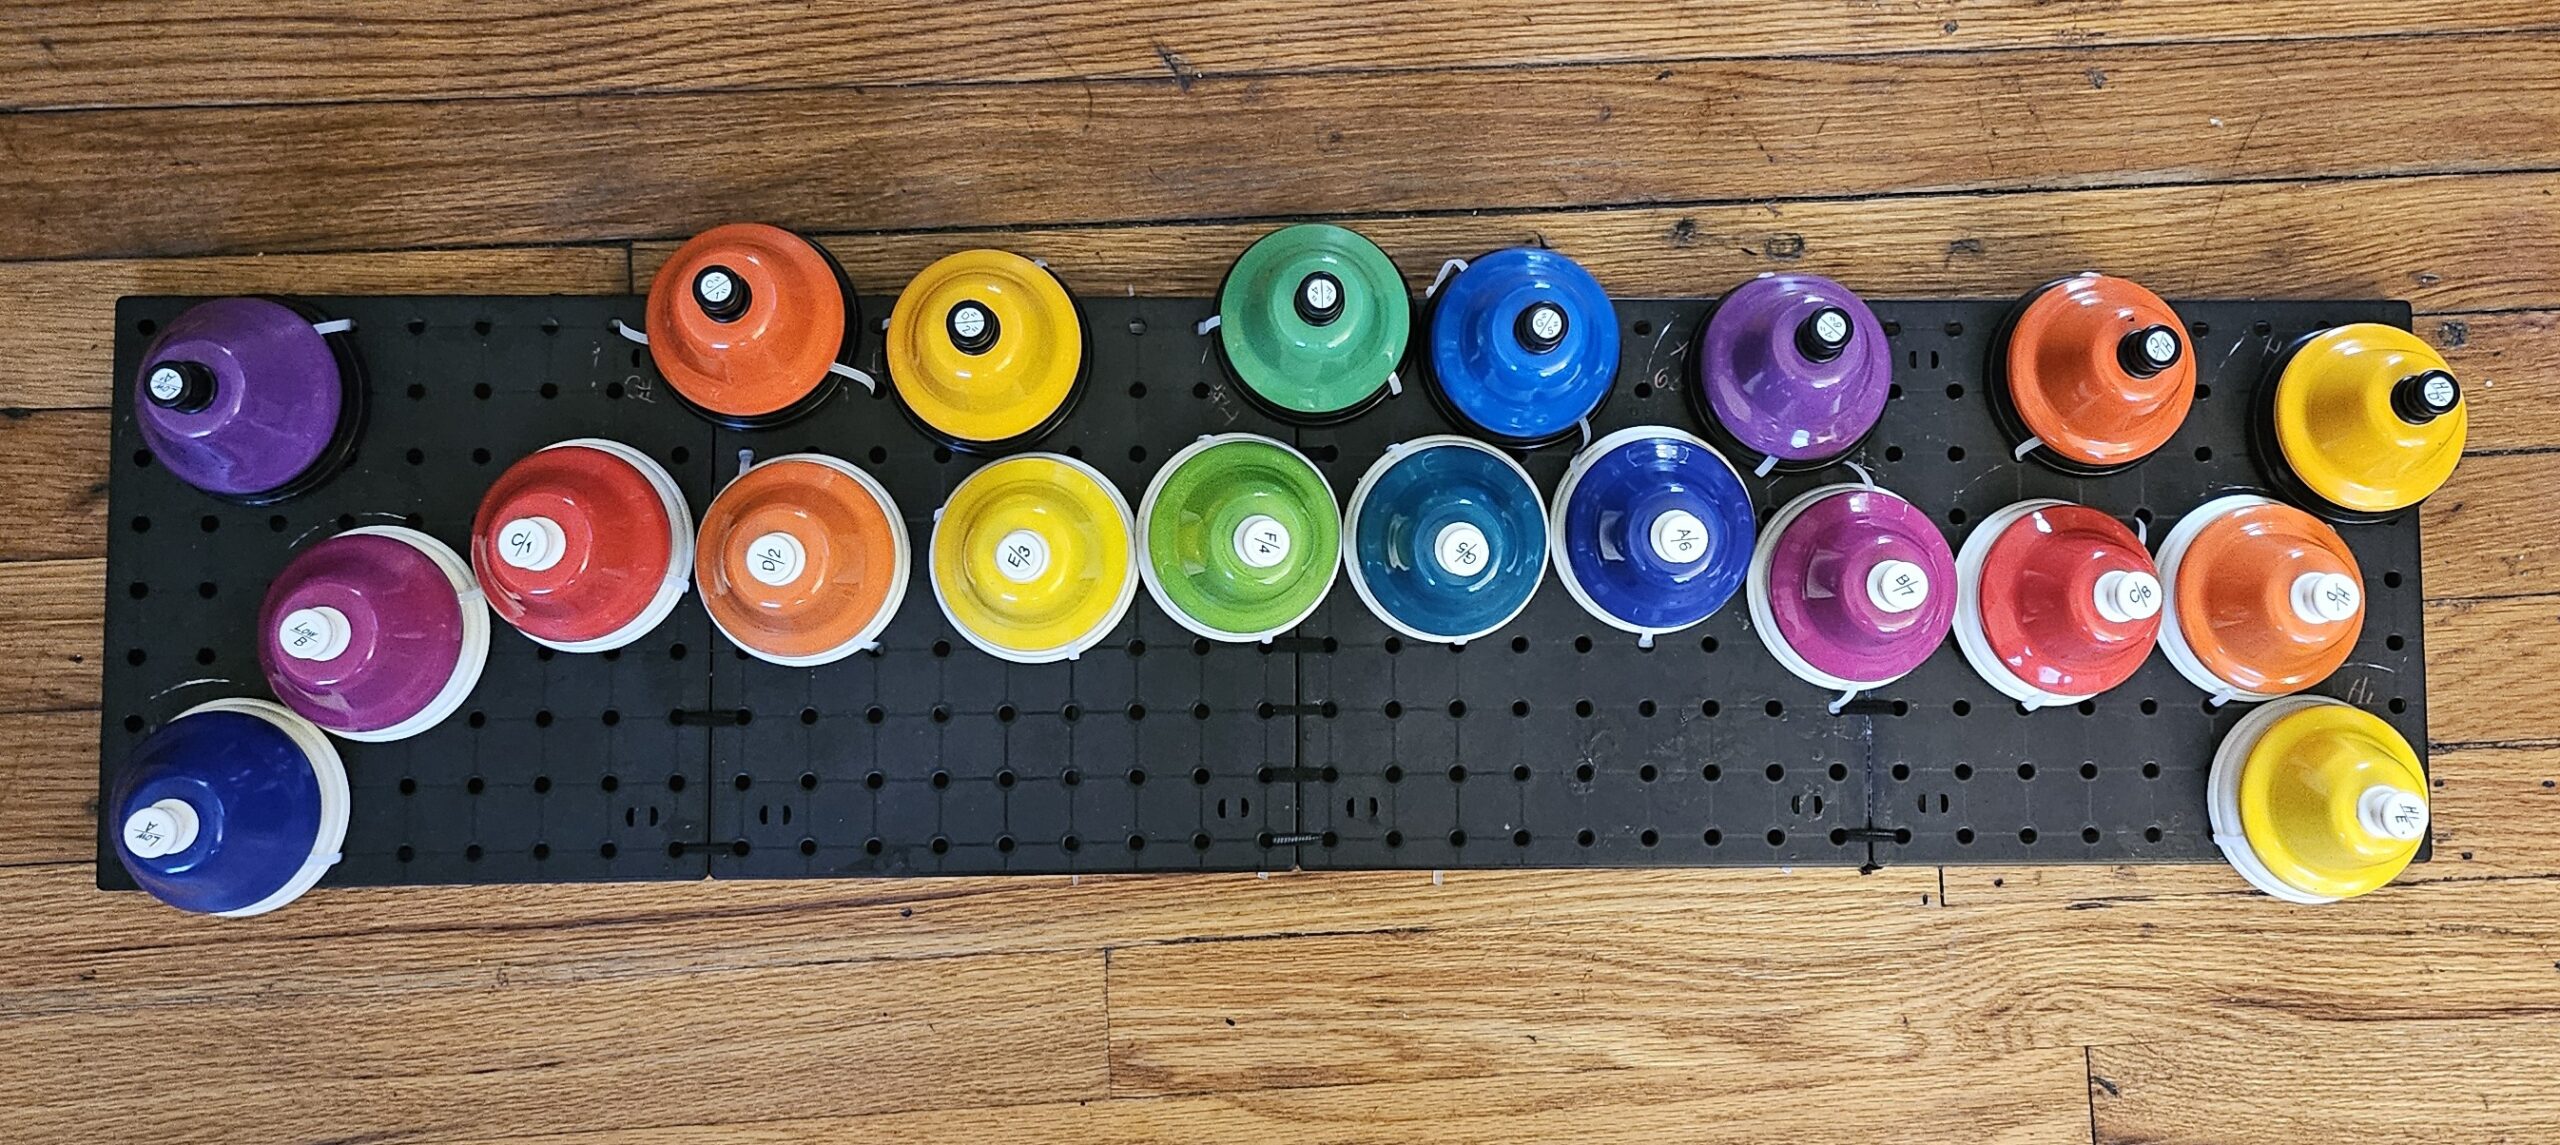
5. Set the bells on top of the board in order, then mark the location of the bells. This step is important to get an idea of how the bells will fit on the board. I traced one side of the bell to mark where the bell should sit and I wrote the note name on the spot.
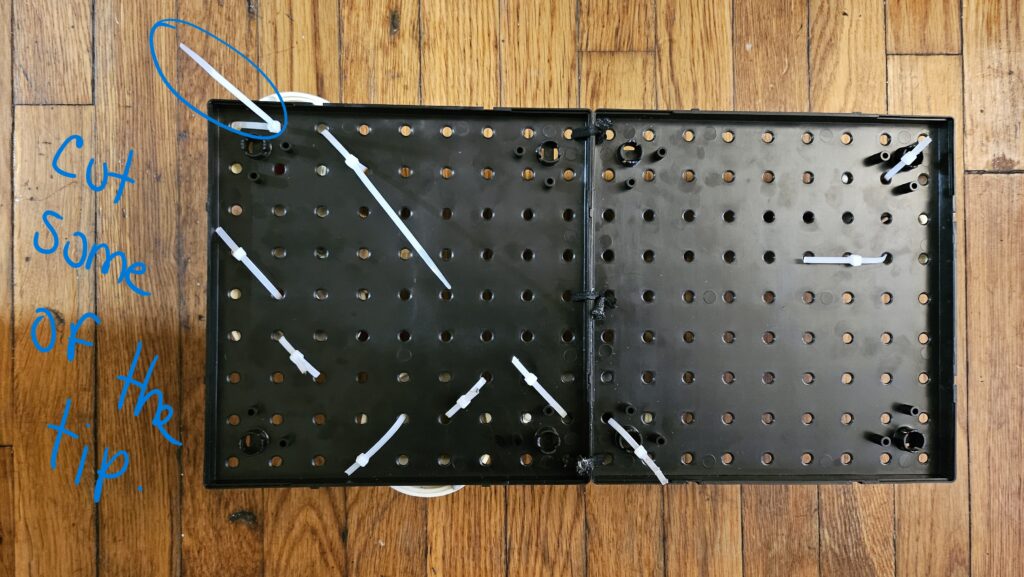
6. Use the zip ties to affix the bells to the board. I ran the zip tie from the bottom of the board to the top of the board, wrapped the zip tie around the bottom edge of the bell, took the tie to a nearby hole in the peg board, and then closed the zip tie underneath the board. This takes some trial and error to get the bells spaced well on the board, but all of the bells do fit. I used two zip ties for each bell.
Also, cut the tips of the zip ties some, so they do not stick out beyond the edge of the board.
It didn’t take very long to make this. Just make sure to let the glue dry and to make spaces for the bells. That saves a lot of time.
Having durable deskbell mounting boards will help protect your bells, keep them from going flying and risking damage and breakage. We highly recommend trying this out!
Happy crafting!